Once you have downloaded and marked your assignments, the second stage of the marking process is to upload the annotated script and feedback to the course site, and if relevant, mark them as ‘pass’ or ‘fail’ (only for the final assignment).
Note: As often in Moodle, there are a number of ways of doing things. Below, you will find step-by-step instructions to use the Grade functionality, which is useful to make submissions one by one. Another option is to bulk download the scripts,then bulk upload your feedback, then add the grade using ‘Quick Grading’, which you can also find outlined below.
Mark individual assignments using the Grade functionality
- Log in to the course site and open the relevant assignment.
- Select the Submissions tab.
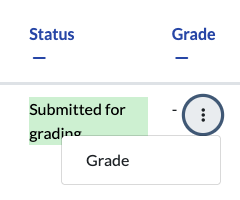
- In the grading table, select the row you want to grade, and open the More kebab menu
 in the Grade column. Select Grade.
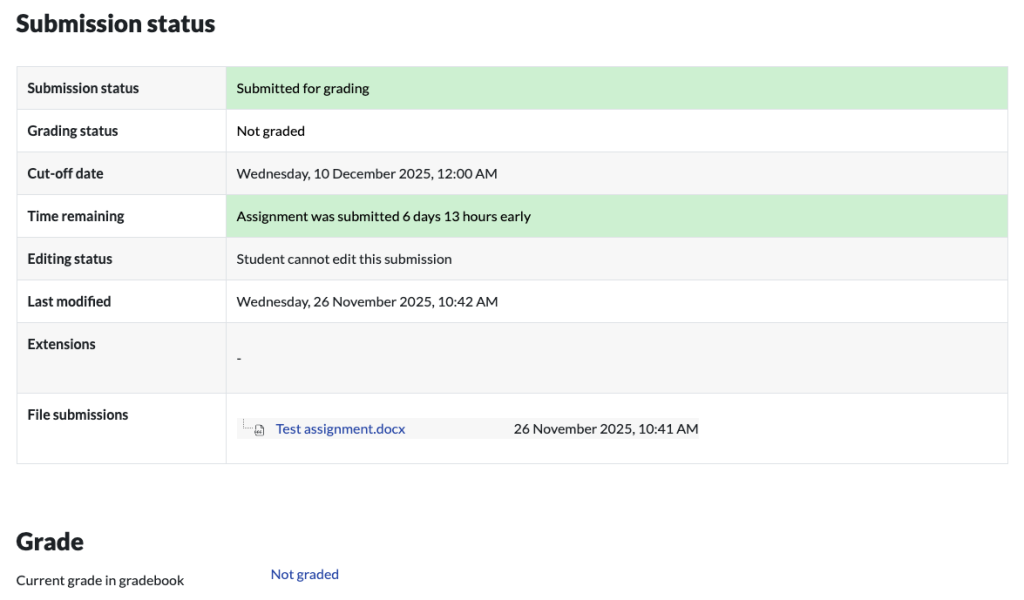
This will open the grading screen for this individual submission. From here, you can download the submission files in order to annotate them, set as ‘Pass’ or ‘Fail’, and leave text feedback directly in Moodle.
Feedback for assignment 1
If you are marking Assignment 1 you will see that there is no option to provide a grade. This is because Assignment 1 is a formative assessment.
Leave the Marking workflow state drop-down box set to Not marked.
You can now proceed to adding some feedback text in the textbox, and uploading your feedback file.
Feedback for assignment 2
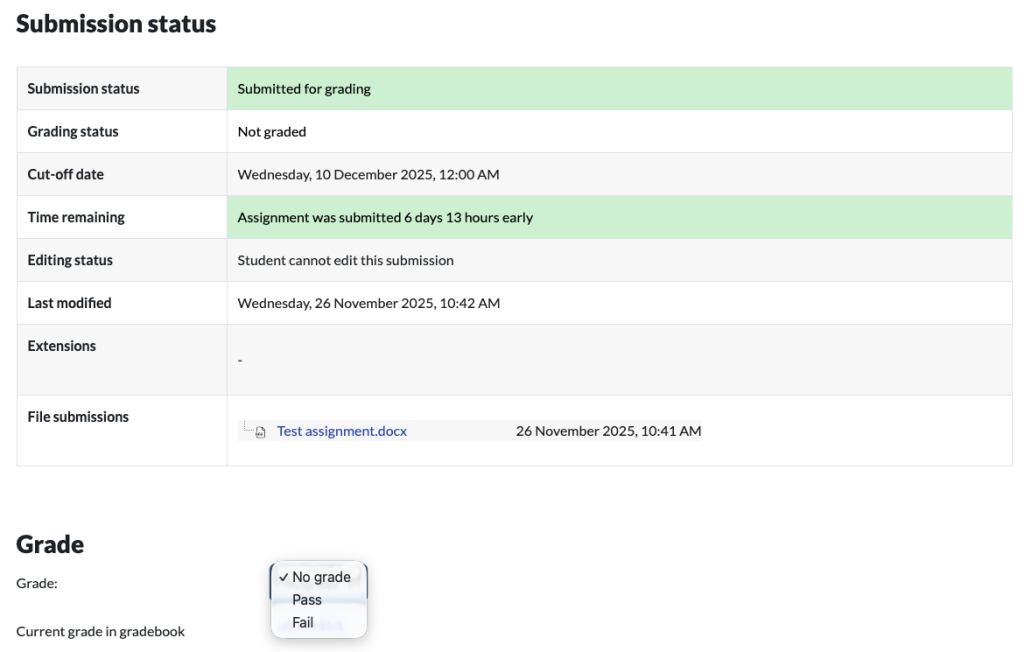
If you are marking Assignment 2 you will need to indicate the student outcome. From the Grade drop-down box, select either Pass or Fail.
Leave the Marking workflow state drop-down box set to Not marked.
You can now proceed to adding some feedback text in the textbox, and uploading your feedback file:
- Provide your overview of feedback directly in the course site in the Feedback comments box.
- Upload the student’s annotated script or a Feedback document. To upload individual files, use the Upload Files box in the grade screen. Alternatively, check the Upload multiple feedback files instructions below.
To upload files to the Feedback files box, you can either:
- Click Add file, using the
 Add File icon. This will bring up the File picker window;
 - Click Upload a file;
- Click Browse to locate the relevant file on your computer;
- Click Upload this file;
- Your file will appear in the box, successfully uploaded.
or
If your web browser supports drag and drop you can:
- Open Windows Explorer on your PC or Finder on your Mac;
- Navigate to the location of the file that you want to upload;
- Hold down the mouse button on the required file and drag it into the Feedback files box where indicated;
- Release the mouse button.
Repeat the steps above for all the files you need to return to this particular student.
If you need to delete a file, click on the file and then click Delete at the top of the dialogue box that appears.
Do not close the window or go to another screen before saving your actions.

To save the information you have entered, either click Save changes to save and return to the View submissions screen, or Save and show next to move to the next assignment.
Repeat this process until you have provided feedback for all assignments.
Uploading multiple feedback files
- Check all your feedback files names; the file names should start with the same name as the submission files you downloaded and marked, followed by’-feedback’, for example, if the submission file was called Participant_26_assignsubmission_file_Test assignment doc.docx, the feedback files will be named: Participant_26_assignsubmission_file_Test assignment doc_feedback.docx
- Select all the feedback forms and zip them into a new folder. Important: Don’t just edit them inside their original folder and re-zip this; it will not work. The folder name does not matter as long as the feedback files have the same names as before.
- As a Grading action, select ”Upload multiple feedback files in a zip” in the drop-down box, and upload this newly zipped folder.
- You will be presented with a confirmation screen displaying your feedback files. (If you zip files from a Mac, make sure to remove the folder _MACOSX.)
- Check that all the files appear in the feedback file column. If any are missing, you can upload them individually following the instructions above.
Note: this option works particularly well if you plan to use Quick Grading (see step-by-step below).
Using Quick Grading
Once you have uploaded your feedback files, you can turn on quick grading to add your marks and feedback comments from the grading interface. To do so, tick the Quick grading option above the grading table. You will see that you can type in the Grade column, and type feedback comments in the Feedback comments column on each row.
Releasing feedback to students
When you have finished marking email onlinemarking@conted.ox.ac.uk to advise that feedback is ready to be returned to students. The Online Courses Office will then complete the process by releasing the feedback. Students will receive an email notification informing them that their feedback is ready to view in the course site.